Shielding
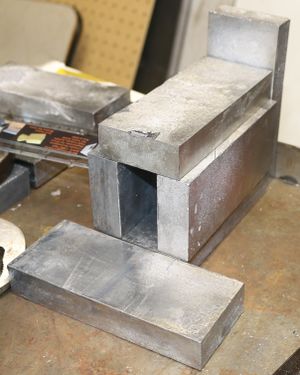
DIY lead brick
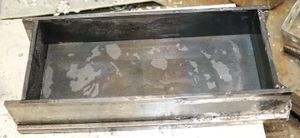
My bricks are 6 x 2.5 x 1. IIRC they were supposed to be 6 x 3 x 1 but I didn't have big enough material on hand.
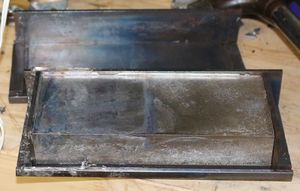
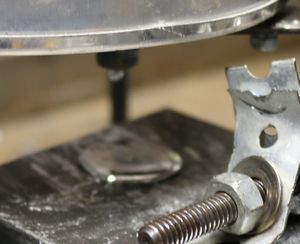
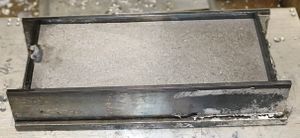
I made the molds on my Sherline 2000 CNC out of 1/8" steel slats. Bug me if you really want details, but basically I'm most likely to add details if I design new mold(s) for the actual desired brick size.
Currently takes me about 30-45 minutes a brick. Secondary mold(s) would speed this up considerably. IIRC I have material to make 4
JM setup using:
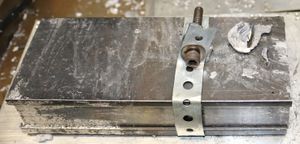
- Steel brick mold (custom)
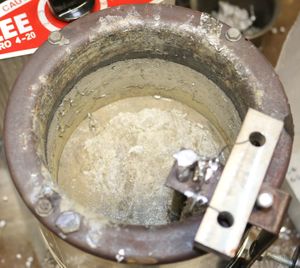
- Lee Precision 20 Pound Pro 4 Electric Metal Melter
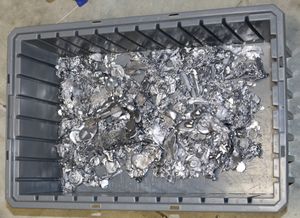
- Scrap lead from eBay
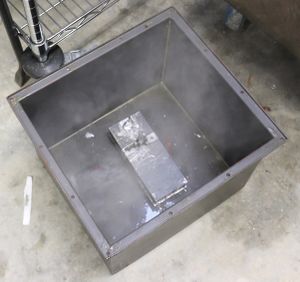
- Quench tray
Procedure:
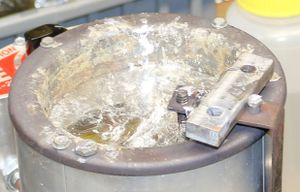
- Fill lead pot about 75%
- As needed, skim surface
- Assemble brick mold
- Run mold surfaces against steel cart to quickly clean them
- Run a slat through mold crevices to quickly clean those
- Place slats into bottom
- Fit top onto bottom assembly
- Verify fits together decently well (observing slats at at right angles)
- Pound the mold against a flat, hard surface. Flip over and pound the other side
- Place strap around mold and tighten
- Pre-heat / fill mold
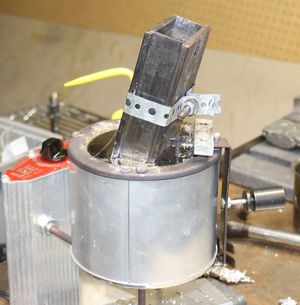
- Place brick mold *into* the lead pot
- Since it was partially filled it should fit
- Initially the mold will float
- As lead fills the mold (due to sealing imperfections), adjust it as necessary to make sure it sinks to the bottom
- Should take 5-10 minutes
- If it doesn't fill, don't worry about it
- Remove mold from pot and place underneath pot at a slight angle (sprue up)
- Open lead pot. Wedge a screwdriver at top so that it stays open
- Once mold begins to overflow, remove screwdriver
- Final filling
- Knock off all excess lead every 5-10 seconds
- After knocking of, observe suction into sprue. If there is no more suction / solidified, you are done
- Add a small pool to the top
- If necessary, use a water squirt bottle to stop lead leaking out the back of the mold
- This will contaminate some of the lead with water, making it dangerous to throw back in
- Place all overflow into a bin to dry
- Do a final knockoff to make the sprue easier to remove
- Place mold into shallow water
- No higher than the bottom plate
- Let cool for 10 minutes
- Remove from water onto table
- If necessary, scrape off sprue excess
- Loosen clamp and slide off
- Gently tap the a side outward. Rotate through the 4 left / right + top / bottom combinations until both top and bottom are loosened
- Remove top mold
- Sprue should give some resistance but pull out fairly easily
- Tap brick in mold against soft metal (ie aluminum) to release brick. Ensure sprue is overhanging an edge such that you aren't pounding it into the mold
- Inspect brick
- If there is a large sag at the top you cooled the brick too quickly (before quenching)
- If brick is damaged around sprue, you didn't let it cool long enough
- If the lead is not one solid piece and/or only half filled, you did not sufficiently pre-heat the mold
- Use sheet metal cutter to remove sprue
- Use a hobby knife to debur brick edges
General notes
- I usually pickup the mold by either the clamp screw or by grabbing an end (using grove joint pliers)
- I've experimented with only removing the top to reduce mold cleaning
- Full brick quenching will release lead easier but may warp mold and other issues
- Unclear if should keep/remove antimony (adds hardness)
- If excess lead may have been contaminated with water, let it dry before reusing
Mold
https://github.com/JohnDMcMaster/uvscada/tree/master/ngc/pb_brick
Crude g-code generator. Think the mold may also be off by 1/8" or something like that
